How To Make Perfect Plunger Coffee
How to make plunger coffee
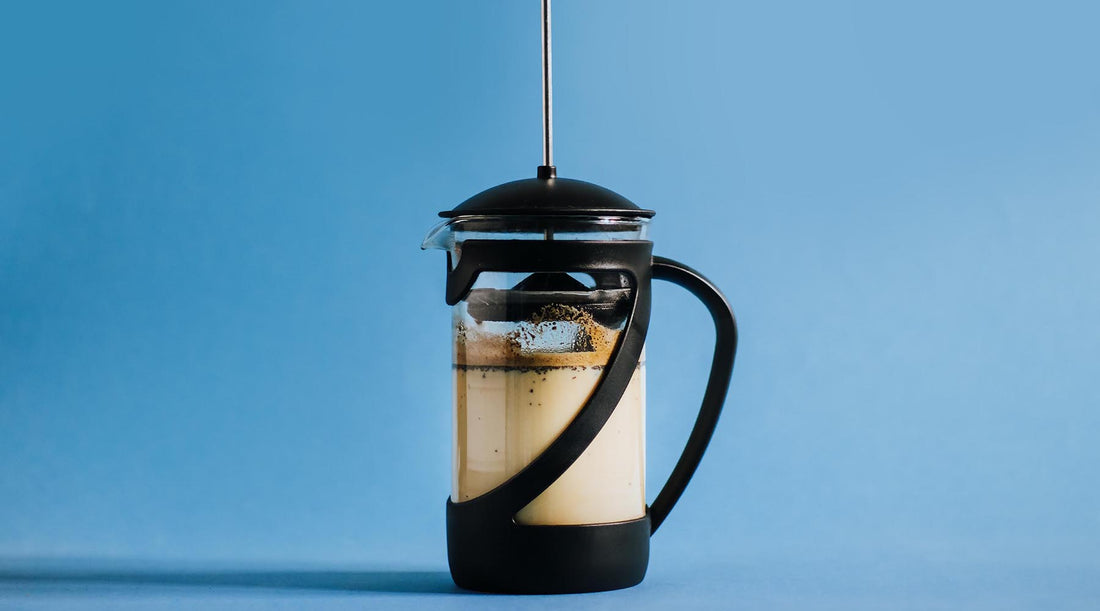
Plunger coffee (also called French Press coffee) is a simple and popular method of making coffee at home. It’s excellent at drawing out the aromas and oils from your coffee, providing the full depth of flavour of whatever coffee bean you choose.
If you’ve never tried plunger coffee, you’re certainly missing out. Here are our tips to get the perfect French press coffee to get you started — or to remind you if you’ve been doing it a while.

Use Freshly Ground Coffee Beans for your coffee plunger
Using fresh beans is important with any brew method! Trust us we got a whole blog post dedicated on the freshness of your coffee beans.
1. Pour A Small Amount of Water On The Beans First
It’s tempting to just pour the hot water (not boiling water) over the grounds, but when brewing coffee with this brew method the real trick is to let your beans soak for about 30 seconds first in the coffee plunger. This gives the coffee grounds time to bloom, as well as remove carbon dioxide that will sour the coffee flavour.
After you’ve given your coffee a chance to bloom, add the rest of the water and smell the delicious aroma of filter coffee.
Pro Tip: Try have a water temperature of about 92-93 degrees
2. Buy A Scale And Weigh Your Beans
Consistency is key. The problem is, not all coffee beans or coffee grounds are consistent. Some have different densities, which means measuring by volume doesn’t give you the same weight. Coffee beans from Africa are often denser than those from South America, for example. Learn more on the different coffee growing regions here.
To compensate, buy a set of scales and use the weight of the beans, rather than the volume, when measuring out your coffee and you will be on your way to consistently delicious fresh coffee in no time.
Your ratio should be about 1:16-1:18 coffee:water, depending on your taste. So for every gram of coffee, you need 16-18 grams of water. Luckily with water 1 ml = 1 gram, so don’t worry too much about weighing the water. Weigh the beans, then measure out the water accordingly.
If you’re finding your coffee is too strong or too weak, dial in the ratio to suit.
3. Grinds Will Rise; Stir Them To Take Them Down
Your grinds will almost inevitably rise to the top of the water — if not all of them, then at least some.
Give them a good stir about a minute into the brewing to drive them back down to the bottom. If the grinds aren’t fully submerged, they won’t brew as fully.

4. Brew Time
We briefly mentioned this in the introduction, but it’s important to state: let the coffee brew for about 4 minutes before pouring. Start the timer when the water hits the coffee (but after they’ve soaked).
5. Pour Coffee Through A Paper Filter After Plunging
So once the coffee has brewed and you’ve pressed it, don’t just pour it straight into the mug! Pour the coffee through paper filter. Even the best French press will leave some grinds floating around in the coffee; the filter will pick up the last of these solubles and leave you with clean, perfect cup of rich coffee like you’ve always dreamed of.
Want some more tips check out our Filter Brew Tips
All of the beans available from Perth Coffee Exchange can be made in a French press. Using this method, you’ll get the full, rich flavour from any of our beans you desire.
We feature coffees from over 28 Perth Coffee Roasters such as Brother of Mine, Offshoot Coffee, Little Owl Coffee, Margaret River Roasting Co, Brightside Coffee and Gesha Coffee.
Thanks for supporting our local Perth Coffee Roasters
Up Next: The ultimate guide to home brewing

